

Key Takeaways
- Most dogs need their nails trimmed every 3 to 4 weeks to prevent pain, splaying, and joint stress
- The quick (blood vessel inside the nail) recedes over time if you trim just 1 to 2 millimeters every 5 to 7 days on overgrown nails
- Guillotine clippers, scissor-style clippers, and rotary grinders each suit different nail sizes; scissor-style clippers are best for medium to large breeds
- Black nails require a gradual shaving technique, trimming thin slices until a gray or pink oval appears in the cross-section
- Styptic powder stops bleeding in under 30 seconds if you accidentally nick the quick
- Desensitization and counterconditioning can transform a fearful dog into a willing participant in as few as 2 to 4 weeks of daily practice
In This Guide
- Why Regular Nail Trims Matter
- How to Tell If Your Dog’s Nails Are Too Long
- Nail Trimming Tools Compared
- Understanding the Quick
- Step-by-Step Guide to Trim Dog Nails
- How to Cut Black Dog Nails Safely
- Handling Overgrown Nails
- Desensitization for Anxious Dogs
- What to Do If You Cut the Quick
- When to See a Professional
I’ve been a Certified Professional Dog Trainer for over a decade, and if there’s one grooming task that makes owners more nervous than any other, it’s nail trimming. I get it. The thought of hurting your dog, seeing blood, or wrestling with a panicked pet is enough to make anyone put it off. But learning to trim dog nails confidently at home is one of the most important skills you can develop as a dog owner. Overgrown nails aren’t just a cosmetic issue; they cause real discomfort, alter your dog’s gait, and can lead to long-term joint problems.
In this guide, I’ll walk you through everything I teach my clients in Austin: the right tools, proper technique for light and dark nails, how to handle an uncooperative dog, and exactly what to do if you accidentally nick the quick. Let’s take the fear out of nail day.
Why Regular Nail Trims Matter
Your dog’s nails grow continuously, just like yours. Dogs who spend most of their time on soft surfaces like carpet, grass, or bedding don’t wear their nails down naturally. When nails get too long, they push against the ground with every step, forcing the toe joints into unnatural angles. Over weeks and months, this leads to splayed toes, altered posture, and compensatory stress on the wrists, elbows, hips, and spine.
According to the PDSA’s veterinary guidance on pet nail care, overgrown nails can curl back into the paw pad, causing painful infections that require veterinary treatment. I’ve seen this firsthand in rescue dogs and seniors whose nails were neglected for months. The good news is that regular trimming every 3 to 4 weeks prevents all of these issues and keeps your dog moving comfortably.
There’s also a behavioral benefit. Dogs with overgrown nails often become reluctant to walk on hard floors, resist having their paws touched, and may develop anxiety around grooming. If you start nail care early and keep it consistent, you build a foundation of trust that makes every future trim easier. If you’re working with a puppy, pairing nail care with your puppy vaccination schedule appointments is a great way to establish both routines early.
How to Tell If Your Dog’s Nails Are Too Long
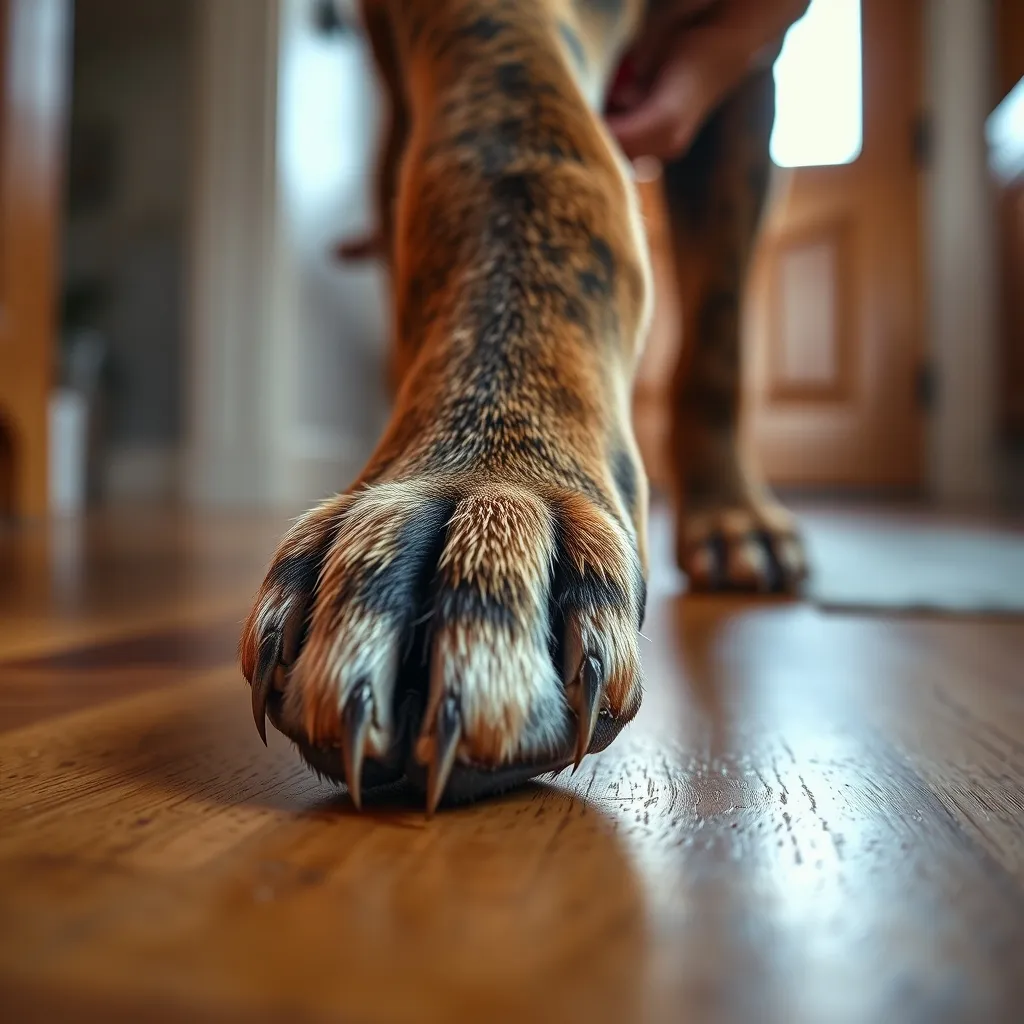
The simplest test is the sound test. If you hear clicking when your dog walks on tile, hardwood, or concrete, the nails are too long. When nails are at the correct length, the dog stands with nails just above the floor surface, not making contact.
You can also do a visual check. Have your dog stand naturally on a flat surface and look at the paws from the side. Nails should not touch the ground or curve downward past the pad. The RSPCA’s advice on dog claw care recommends checking your dog’s nails at least once a week to catch overgrowth before it becomes a problem.
Don’t forget the dewclaws. These are the nails higher up on the inner side of each front leg (and sometimes the hind legs). Because dewclaws never touch the ground, they don’t wear down at all and are the most likely to become overgrown or curl into the skin. I tell every client: when you check the four main nails, always check the dewclaw too.
Nail Trimming Tools Compared
Choosing the right tool makes a huge difference in your confidence and your dog’s comfort. Here’s how the three main options compare based on my experience with hundreds of dogs.
| Tool Type | Best For | Pros | Cons | Price Range |
|---|---|---|---|---|
| Guillotine Clippers | Small to medium dogs with thin nails | Easy single-hand operation; clean cut | Blade dulls quickly; not ideal for thick nails | $8 to $15 |
| Scissor-Style Clippers | Medium to large dogs; thick nails | Strong leverage; precise control; durable | Requires more hand strength; bulkier | $12 to $25 |
| Rotary Grinder (Dremel) | Dogs who fear clippers; black nails | Gradual filing; smooth finish; less risk of hitting the quick | Noise and vibration can scare some dogs; slower process | $20 to $50 |
| Nail File (Manual) | Finishing after clipping; tiny puppies | No noise; maximum control | Very slow for full trims; impractical for large dogs | $3 to $8 |
My personal recommendation for most owners is a pair of sharp, stainless-steel scissor-style clippers with a safety guard. The safety guard limits how much nail you can remove in one cut, which is perfect when you’re building confidence. For dogs with dark nails where the quick is invisible, a rotary grinder gives you the most control because you remove thin layers at a time. Some of my clients use clippers first, then finish with a grinder to smooth any rough edges.
Whichever tool you choose, replace or sharpen blades regularly. Dull clippers crush the nail instead of cutting it cleanly, which is painful for your dog and can cause splitting. I replace my clipper blades every 3 to 4 months with daily professional use; for home use, once or twice a year is usually enough.
Understanding the Quick
The quick is the living tissue inside your dog’s nail that contains blood vessels and nerves. It’s the reason nail trimming makes people nervous, and understanding it is the single most important thing I teach.
In dogs with light or white nails, the quick is visible as a pink area inside the nail. You can see it clearly when you hold the paw up to a light source. Your goal is to cut approximately 2 millimeters in front of the pink area, leaving a safe margin.
In dogs with black or dark nails, the quick is completely hidden. This is where technique matters most, and I’ll cover it in detail in the section below. The key principle is the same: trim small amounts and watch the cross-section of the nail for color changes that signal you’re getting close.
Here’s something most people don’t realize: the quick grows longer when nails are allowed to overgrow. The blood vessel extends to match the length of the nail. This means you can’t simply cut a severely overgrown nail back to its ideal length in one session. Instead, you need to trim small amounts frequently, which causes the quick to gradually recede. I’ll cover this process in the overgrown nails section.
Step-by-Step Guide to Trim Dog Nails
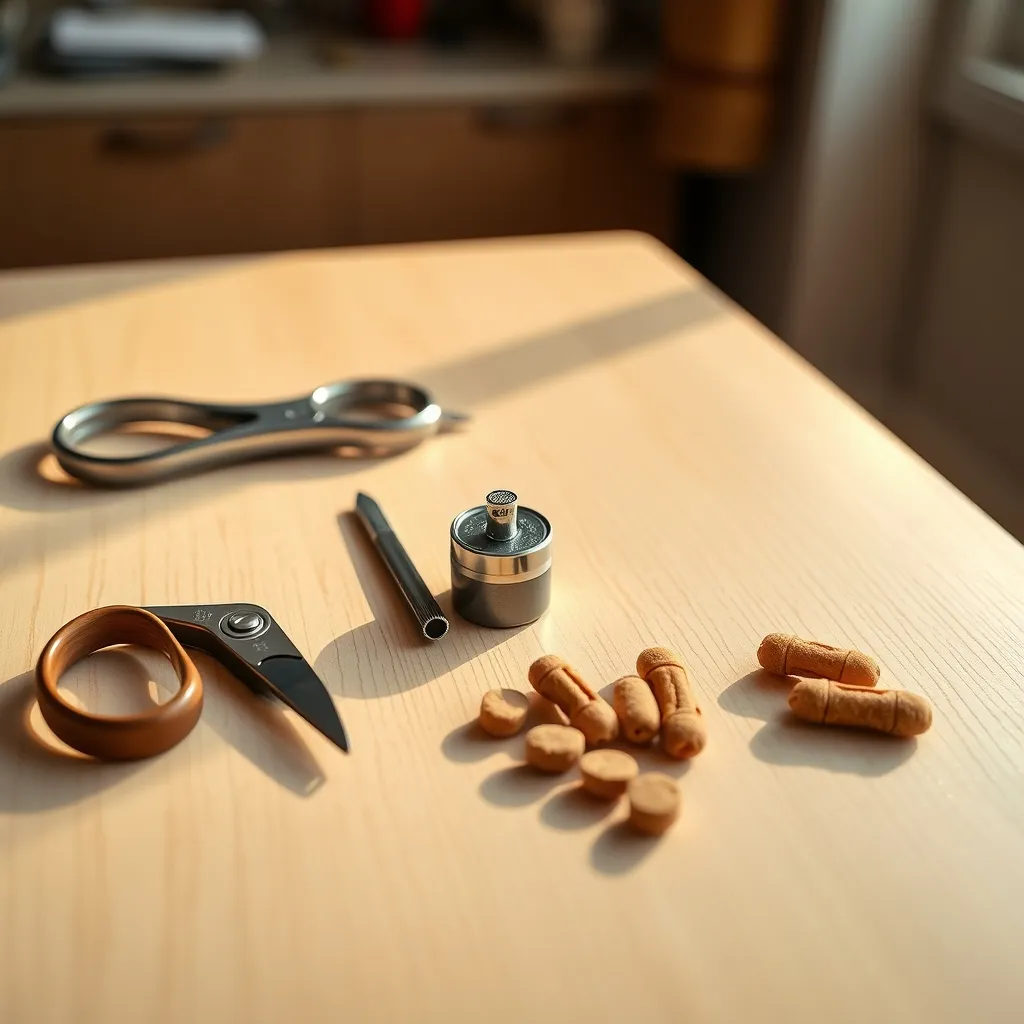
Before you begin, gather everything you need: your chosen clippers or grinder, styptic powder (cornstarch works in a pinch), high-value treats, and good lighting. I like to trim nails in a well-lit room with the dog on a non-slip surface like a yoga mat or rubber bath mat.
Preparation
- Exercise your dog first. A tired dog is a calmer dog. A 20 to 30 minute walk before nail time makes a noticeable difference.
- Get into a comfortable position. For small dogs, place them on a raised surface at your chest height. For large dogs, have them lie on their side or sit while you kneel beside them. Some dogs do best in a standing position with you lifting one paw at a time.
- Handle the paws gently. Before you even pick up the clippers, spend 30 seconds massaging the paw, pressing gently on each toe, and spreading the toes apart. Reward with treats. This is especially important when you’re building trust through positive reinforcement.
The Trim
- Hold the paw firmly but gently. Place your thumb on the toe pad and your forefinger on top of the toe, just above the nail. Gently extend the nail by pressing your thumb slightly upward and forward.
- Identify your cut line. For light nails, cut 2 millimeters before the pink quick. For dark nails, start with a thin slice off the tip.
- Cut at a 45-degree angle. Position the clippers so the blade crosses the nail at a slight angle, following the natural curve. This creates a cleaner cut and mimics the natural wear pattern.
- Make one confident, swift cut. Hesitant, slow squeezing is more likely to crush the nail and cause discomfort. A quick, firm clip is cleaner and less stressful for both of you.
- Check the cross-section. After each cut, look at the freshly exposed nail. A chalky white or gray surface means you’re safe. A dark center dot or moist, pink tissue means you’re near the quick and should stop.
- Reward after each nail. One nail, one treat. This builds a positive association with the process.
- Don’t forget the dewclaws. Lift the fur around the inner wrist area and trim as usual.
If your dog’s nails have sharp edges after clipping, a few passes with a rotary grinder or manual file will smooth them out and prevent snagging on fabric or scratching skin. This is especially helpful if you have young children at home or if your dog tends to jump up during greetings.
How to Cut Black Dog Nails Safely
Black nails are the number one concern I hear from clients, and for good reason. You genuinely cannot see the quick. But with the right approach, trimming dark nails is completely manageable.
The technique I recommend is the gradual shaving method:
- Start at the very tip. Remove only about 1 millimeter of nail with your first cut.
- Examine the cross-section. The outer layers will appear dry and whitish-gray, almost flaky.
- Continue with thin slices. After each cut, look at the center of the cross-section. You’ll begin to see a darker oval or circle forming in the middle of the nail.
- Stop when you see the pulp. This is a small, moist-looking black or gray dot surrounded by a lighter ring. This means the quick is just millimeters away. Stop trimming this nail.
A rotary grinder is particularly useful for black nails because it removes material in thin layers, giving you even more control. The vibration can also cause slight bleeding before you cut too deep, serving as an early warning sign. Many of my clients who were terrified of black nails have switched to grinders and never looked back.
Good lighting is non-negotiable for dark nails. I use a clip-on LED book light positioned directly above the paw. Some groomers use a small flashlight held behind the nail, which can sometimes illuminate the quick even in darker nails, though this doesn’t work consistently on the blackest nails.
Handling Overgrown Nails
If your dog’s nails have become significantly overgrown, whether from neglect, a rescue situation, or simply life getting busy, do not attempt to cut them to the correct length in one session. The quick has grown long to match, and cutting too much will cause pain and heavy bleeding.
Instead, follow this gradual recession protocol:
- Week 1: Trim just the very tips, removing approximately 1 to 2 millimeters from each nail. This is a getting-started session focused on safety.
- Weeks 2 through 6: Trim another 1 to 2 millimeters every 5 to 7 days. As you remove small amounts of nail consistently, the quick begins to recede, allowing you to trim slightly more each time.
- Week 7 onward: By now, the nails should be approaching a healthy length. Transition to a regular maintenance schedule of every 3 to 4 weeks.
Walking your dog on concrete or asphalt between trims helps file the nails naturally and encourages the quick to recede faster. Even 15 to 20 minutes of walking on hard surfaces daily can make a significant difference. If your dog has mobility issues that limit exercise, you might want to explore joint care supplements that can help them stay active enough for regular walks.
In severe cases where nails have curled into the paw pad or are causing visible lameness, see your veterinarian first. Embedded nails can harbor infection and may need professional removal under sedation. This is not a DIY situation. Keeping a nail-specific first aid kit on hand is always a smart idea when you’re working with overgrown nails at home.

Desensitization for Anxious Dogs
Some dogs panic at the sight of nail clippers. They may pull away, cry, snap, or shut down entirely. As a force-free trainer, I never recommend restraining, muzzling, or forcing a fearful dog through a nail trim. These approaches destroy trust, and the next session will be even worse.
Instead, I use a systematic desensitization and counterconditioning protocol that looks like this:
Phase 1: Touch and Treat (Days 1 to 5)
Simply touch your dog’s paw, then give a high-value treat (cheese, chicken, or whatever your dog loves most). Touch and treat. Touch and treat. Do this for 5 minutes twice a day. Gradually progress from touching the top of the paw to holding the paw, then to gently pressing individual toes.
Phase 2: Introduce the Tool (Days 6 to 10)
Let your dog see and sniff the clippers or grinder. Reward them for calm behavior around the tool. Touch the clippers to the nail without cutting. If using a grinder, turn it on across the room and reward your dog for staying relaxed. Gradually move the running grinder closer over multiple sessions.
Phase 3: One Nail at a Time (Days 11 to 14)
Trim a single nail, then immediately follow with a jackpot of treats and end the session. Yes, just one nail. The next day, do one more. By the end of the week, your dog has had 7 successful, low-stress experiences with nail trimming. This approach aligns with the same force-free principles I use for managing reactive behavior.
Phase 4: Build Duration (Weeks 3 to 4)
Gradually increase to 2 nails per session, then 3, then a full paw. Always stop before your dog shows signs of stress. Over 2 to 4 weeks, most dogs are comfortable with a full trim in one sitting.
This process requires patience, but the results are lasting. I’ve worked with dogs who used to need sedation at the vet for nail trims and are now completely relaxed at home with their owners. The investment of time up front pays off for the lifetime of your dog.
What to Do If You Cut the Quick
First, take a breath. It happens to everyone, including professional groomers and veterinarians. Nicking the quick is painful for your dog, similar to a torn hangnail for us, but it is not a medical emergency. Knowing how to respond quickly and calmly is part of basic dog first aid.
Immediate Steps
- Stay calm. Your dog reads your energy. If you panic, they will too.
- Apply styptic powder immediately. Dip the bleeding nail directly into the powder or press a pinch against the nail tip. Hold gentle pressure for 10 to 30 seconds. The powder contracts the blood vessels and stops bleeding quickly.
- No styptic powder? Cornstarch, baking soda, or a bar of plain soap pressed against the nail tip will work as alternatives. They’re not as fast-acting, but they will stop the bleeding.
- Keep the dog still. Prevent them from walking on the paw or licking the nail for 5 to 10 minutes while the clot forms.
- End on a positive note. Give your dog their favorite treat, a short play session, or some calm praise. You want the last memory of the session to be positive, not the pain.
If bleeding doesn’t stop after 10 minutes of continuous pressure, or if the nail appears broken or damaged beyond a simple quick nick, contact your veterinarian. Persistent bleeding can occasionally indicate a clotting disorder, particularly in breeds predisposed to von Willebrand disease.
One important point: do not punish yourself by avoiding future trims. A single nick does not traumatize a dog for life, especially if you handle it calmly and end the session positively. Next time, just trim a little less off that particular nail.
When to See a Professional
There’s absolutely no shame in having a professional groomer or veterinarian handle nail trims. In fact, there are situations where I actively recommend it:
- Severely overgrown or curled nails that have embedded into the pad
- Dogs with a history of aggression during nail handling who haven’t yet completed desensitization training
- Dogs with bleeding disorders or those on blood-thinning medication
- Senior dogs with brittle, splitting nails that crack unpredictably
- Your own anxiety is too high. Dogs pick up on nervous energy. If your hands are shaking, the trim won’t go well. It’s better to have someone confident handle it while you work on your own comfort level separately
Most veterinary clinics and groomers charge between $10 and $25 for a nail trim, and many will let you watch or even coach you through the process so you can eventually do it yourself. Some mobile grooming services will come to your home, which eliminates the stress of car travel for dogs who find that overwhelming. You can find additional tips on preparing your dog for outings like groomer visits in our guide to traveling with your dog.
Whether you trim at home or go to a professional, the Blue Cross recommends incorporating nail checks into your regular grooming routine alongside coat brushing, ear cleaning, and dental care. Nail trimming isn’t an isolated task; it’s part of a holistic approach to keeping your dog healthy and comfortable. Pairing nail day with bath time can also help streamline your grooming schedule.
Key Points
- Trim your dog’s nails every 3 to 4 weeks, or whenever you hear clicking on hard floors
- Use scissor-style clippers for medium to large breeds and a rotary grinder for black nails where the quick is invisible
- Always cut at a 45-degree angle and check the cross-section after each thin slice, stopping when you see a dark oval or moist center
- For overgrown nails, trim just 1 to 2 millimeters every 5 to 7 days to allow the quick to recede gradually
- Keep styptic powder within arm’s reach at every session, and apply it immediately with 10 to 30 seconds of pressure if you nick the quick
Frequently Asked Questions
How do I cut my dog’s nails at home?
Start by choosing the right tool for your dog’s size: scissor-style clippers for medium to large breeds, guillotine clippers for small dogs, or a rotary grinder for dark nails. Hold the paw firmly, extend each toe, and cut at a 45-degree angle approximately 2 millimeters before the pink quick on light nails. For dark nails, trim thin slices and watch the cross-section for a dark oval indicating you’re near the quick. Reward your dog with a treat after each nail to build positive associations.
How often should I trim my dog’s nails?
Most dogs need a nail trim every 3 to 4 weeks. Dogs who walk regularly on concrete or asphalt may need trimming less frequently because hard surfaces file nails naturally. The best indicator is sound: if you hear clicking when your dog walks on hard flooring, it’s time for a trim. Always check dewclaws weekly as they never contact the ground and grow faster relative to the other nails.
How do I cut black dog nails without hitting the quick?
Use the gradual shaving method. Remove about 1 millimeter at a time and examine the freshly cut cross-section after each slice. The outer layers will look dry and whitish-gray. As you trim closer to the quick, a darker oval or circle appears in the center of the nail. When you see a small, moist-looking dot surrounded by a lighter ring, stop immediately. A rotary grinder offers extra control for dark nails because it removes material in very thin layers.
What should I do if my dog’s nail bleeds during trimming?
Apply styptic powder directly to the bleeding nail tip and hold gentle pressure for 10 to 30 seconds. If you don’t have styptic powder, cornstarch or baking soda pressed against the nail will also stop the bleeding. Keep your dog still for 5 to 10 minutes to let the clot form, and avoid letting them lick the nail. If bleeding continues beyond 10 minutes despite pressure, contact your veterinarian.
Should I soak my dog’s nails before clipping?
Soaking is generally not necessary and can actually make nails softer and more prone to splitting or crushing during the cut. Dry nails provide a cleaner, more predictable cut with clippers. However, some owners find that trimming after a bath, when nails are slightly softer, makes the process easier for dogs with very thick nails. If you do trim after bathing, pat the paws dry first and use sharp, high-quality clippers to avoid crushing.
How do I trim an uncooperative dog’s nails?
Never force the process. Instead, use desensitization over 2 to 4 weeks. Start by simply touching your dog’s paws and rewarding them with high-value treats. Gradually introduce the sight and sound of the clippers, then progress to trimming a single nail per session with immediate treats. Build up slowly to a full trim. For dogs with severe anxiety or aggression around nail care, consult a certified force-free dog trainer or have your veterinarian handle trims until the desensitization program is complete.