Key Takeaways
- Start with sit as the foundation command; most dogs can learn it reliably in 3 to 5 short sessions
- Keep every training session to 5 to 10 minutes to maintain your dog’s focus and prevent frustration
- A solid recall (come) command is the single most important safety skill your dog will ever learn
- Use a reward rate of 80 percent or higher when introducing a new behavior, then gradually reduce treats as the behavior becomes reliable
- Practice each command in at least three different environments before considering it truly learned
- The leave it command can prevent poisoning, choking and dangerous encounters with wildlife or other animals
In This Guide
If you’ve ever wondered how to train a dog in a way that actually sticks, you’re not alone. In my decade-plus career as a certified professional dog trainer, the question I hear most often from new clients is some version of: “Where do I even start?” The answer is simpler than most people expect. Seven core commands form the foundation of every well-mannered, safe and happy dog. Master these, and you’ll have a companion who is a joy to live with, welcome in public spaces and, most importantly, safe in unpredictable situations.
I’ve used this exact framework with hundreds of dogs in Austin, from eight-week-old puppies fresh from the breeder to senior rescues who never had any formal training. The method is rooted in positive reinforcement science, and it works regardless of breed, age or temperament. Let me walk you through every step.
Why Force-Free Training Works
Before we get into the commands themselves, I want to briefly explain why I train the way I train. Positive reinforcement, sometimes called force-free or reward-based training, means we mark and reward behaviors we want and redirect or ignore behaviors we don’t. According to the American Veterinary Medical Association, aversive training methods (prong collars, shock collars, leash corrections) carry a significant risk of increasing fear, anxiety and aggression in dogs.
In my experience, dogs trained with positive reinforcement learn faster, retain behaviors longer and develop a stronger bond with their owners. A 2020 study published in the journal Scientific Reports confirmed this, finding that dogs trained with aversive methods showed more stress-related behaviors than those trained with rewards. The science is clear: reward-based training is both more effective and more humane.
If you’re starting with a puppy, pairing these commands with a structured socialization plan is crucial. I recommend reading our week-by-week puppy training plan for a detailed timeline that complements the commands you’ll learn here.
Essential Tools and Setup Before You Begin
You don’t need a garage full of equipment to train your dog. Here’s what I recommend having on hand before your first session:
- High-value treats: Small, soft and smelly. Think tiny pieces of cooked chicken, freeze-dried liver or commercial training treats. The treat should be something your dog goes crazy for, not their everyday kibble.
- A treat pouch: Worn at your waist so rewards are accessible within one second of the desired behavior.
- A 6-foot leash: Nylon or leather, not retractable. Retractable leashes teach dogs to pull, which works against our goals.
- A flat collar or front-clip harness: Avoid choke chains, prong collars and back-clip harnesses for training purposes.
- A marker word or clicker: I use the word “yes” as my marker, but a clicker works just as well. The marker bridges the gap between the exact moment your dog does the right thing and the moment the treat arrives.
Session length matters enormously. Dogs, especially puppies, have short attention spans. I keep sessions between 5 and 10 minutes, two to three times per day. Short, frequent sessions produce far better results than one long, exhausting training marathon. If your dog is getting enough daily exercise, they’ll be calmer and more focused during training.
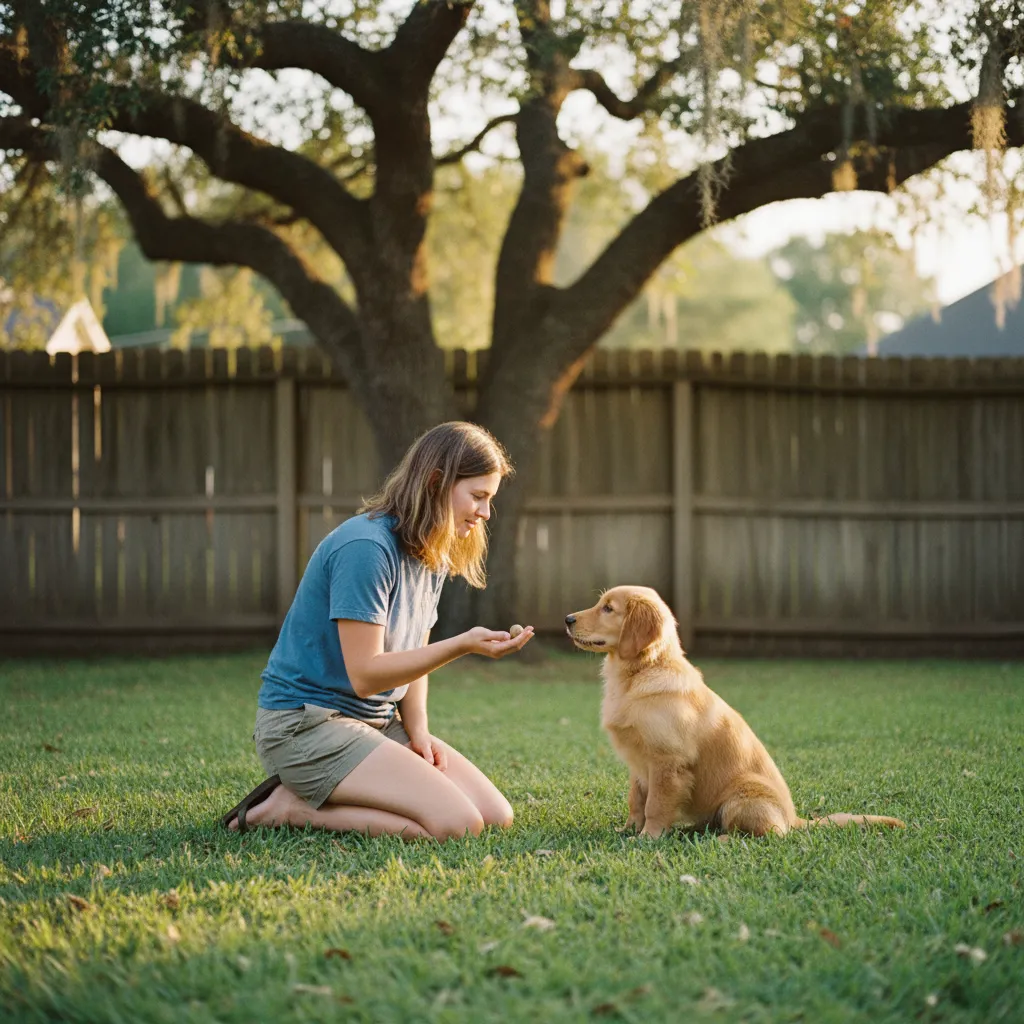
Command One: Sit
Sit is the gateway command. It’s the easiest behavior for most dogs to learn, it builds confidence in both you and your dog, and it has dozens of practical applications. I teach sit to every single dog I work with on day one.
How to teach sit step by step
- Hold a treat between your thumb and forefinger, close to your dog’s nose.
- Slowly move the treat upward and slightly backward over their head. Their nose will follow the treat, and their rear end will naturally lower to the ground.
- The instant their bottom touches the floor, say your marker word (“yes!”) and deliver the treat.
- Repeat 5 to 8 times per session.
- Once your dog is sitting reliably with the lure, add the verbal cue “sit” just before you begin the hand motion.
- Gradually fade the lure by using an empty hand to make the same motion, then rewarding from your treat pouch.
Most dogs understand the basic mechanics of sit within 3 to 5 sessions. True reliability, meaning your dog sits on the first cue in any environment, takes several weeks of consistent practice.
Practical uses for sit: waiting at doorways before going outside, greeting visitors politely instead of jumping, waiting for meals, sitting before crossing streets on walks. Sit is essentially your dog’s way of saying “please.”
Command Two: Stay
Stay is where patience becomes your greatest asset. This command teaches your dog impulse control, and it’s the foundation for safety in real-world situations. A dog with a reliable stay won’t bolt out an open front door or rush toward a busy road.
How to teach stay step by step
- Ask your dog to sit.
- Hold your open palm toward them (the universal stay hand signal) and say “stay.”
- Wait one second, then mark and reward. Yes, just one second at first.
- Gradually increase the duration: 2 seconds, 5 seconds, 10 seconds, 30 seconds.
- Once your dog can hold a stay for 30 seconds with you standing right in front of them, begin adding distance. Take one step back, return, mark and reward.
- Finally, add distractions: practice with the TV on, with another person walking by, or in the backyard.
I always teach the three Ds of stay in this order: duration first, then distance, then distraction. Never increase more than one variable at a time. If your dog breaks the stay, you’ve moved too fast. Go back to the last successful level and build up again. There’s no shame in going slowly; in fact, it’s the fastest way to a reliable stay.
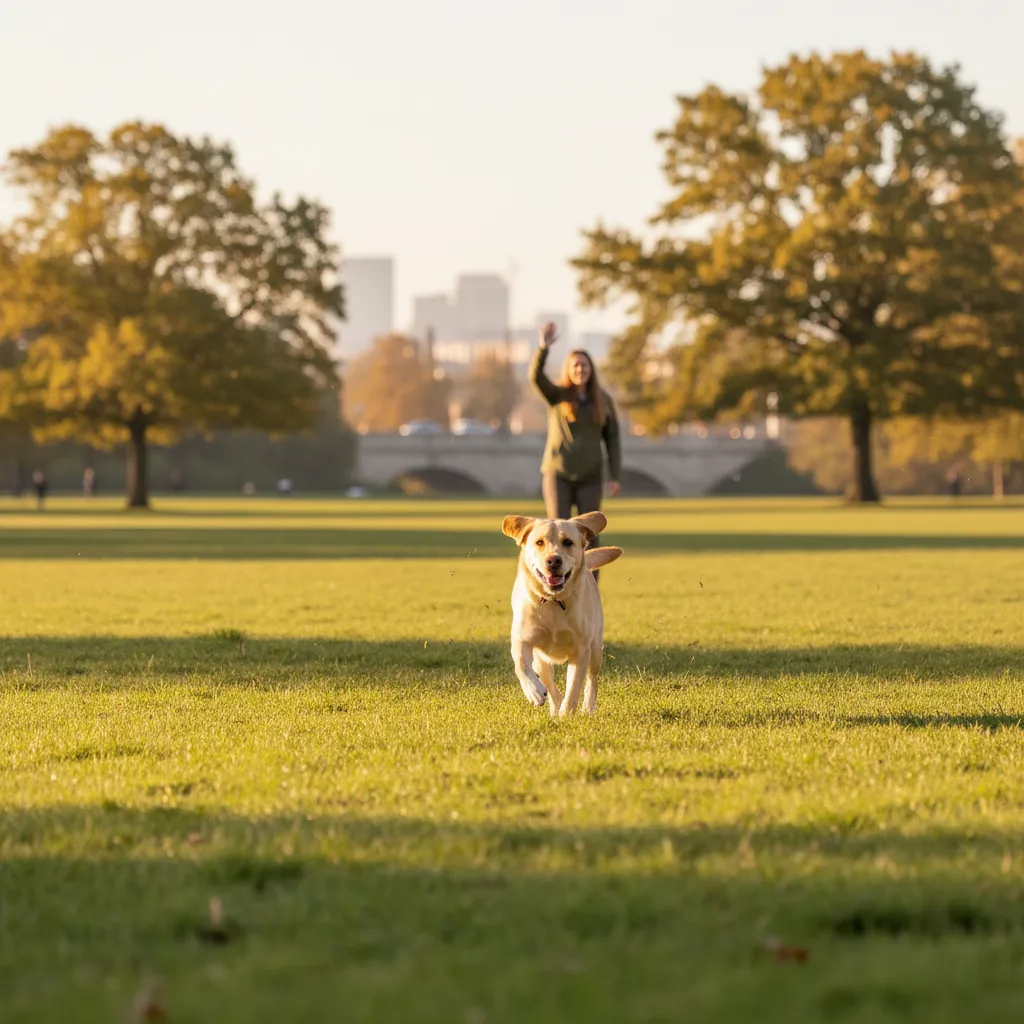
Command Three: Come (Recall)
If I could only teach a dog one command for the rest of my career, it would be come. A reliable recall is a lifesaver, literally. Dogs who come when called can be safely redirected away from traffic, aggressive animals, toxic substances and countless other dangers.
How to teach recall step by step
- Start indoors in a boring, distraction-free room.
- Say your dog’s name followed by “come” in a bright, enthusiastic voice.
- When they move toward you, mark the behavior immediately.
- Reward with a jackpot: 3 to 5 treats delivered one at a time, plus praise and affection.
- Practice the “recall game” with a partner: stand 10 feet apart and take turns calling the dog back and forth.
- Gradually move to more distracting environments: the backyard, a quiet park, then busier locations.
Critical rules for recall:
- Never call your dog to come and then do something they dislike (nail trims, baths, crating). Go get them instead.
- Never punish a dog who comes to you, even if they took 5 minutes to respond. Coming to you must always be a positive experience.
- Use a long line (15 to 30 feet) when practicing outdoors so your dog can’t self-reward by running away.
Recall takes the longest to proof of any command on this list. Expect to practice consistently for several months before your dog’s recall is reliable around high-level distractions like squirrels or other dogs. If your dog struggles with coming back to you when left alone, there may be underlying separation anxiety at play.
Command Four: Down
Down (lying down on command) is a calming behavior that’s incredibly useful in everyday life. A dog in a down position is naturally more relaxed than a dog who is standing or sitting, making this command perfect for restaurants, vet offices, visitors in your home and long waits.
How to teach down step by step
- Start with your dog in a sit position.
- Hold a treat to their nose, then slowly lower it straight down to the ground between their front paws.
- When the treat reaches the floor, slowly drag it forward along the ground. Your dog should fold into a down position, following the treat.
- The moment their elbows and belly touch the floor, mark and reward.
- If your dog stands up instead of lying down, you’re moving the treat too far forward too quickly. Reset and try again with a slower motion.
Some dogs find down more challenging than sit because it puts them in a vulnerable position. This is especially common in rescue dogs or dogs with a history of rough handling. Be patient, keep the energy calm, and never push or pull your dog into a down. Let them choose to offer the behavior. Once they do, reward generously.
Down pairs beautifully with stay. A down-stay is my go-to behavior for dogs who need to settle in public. If you’re working on building a calmer dog overall, our guide to appropriate exercise levels can help ensure your dog is getting enough physical outlet before you ask for calm indoor behaviors.
Command Five: Leave It
Leave it is the command that prevents your dog from eating something dangerous, chasing a cat across the street, or snatching food off your toddler’s plate. I consider it a non-negotiable life skill.
How to teach leave it step by step
- Place a low-value treat in your closed fist. Let your dog sniff, lick and paw at your hand.
- The moment they pull away or even briefly stop trying, mark and reward with a different, higher-value treat from your other hand.
- Repeat until your dog immediately turns away from the closed fist when presented.
- Add the cue “leave it” just before presenting the closed fist.
- Progress to an open palm with the treat visible. If your dog goes for it, close your fist. If they look away, mark and reward from the other hand.
- Graduate to treats on the floor, covered by your foot if needed, then to walking past items on the ground.
The golden rule of leave it: the reward for leaving something always comes from you, never from the forbidden item. Your dog learns that ignoring tempting things leads to something even better. This is powerful because it works with food on the sidewalk, dead animals, other dogs, dropped medication and anything else you need your dog to avoid.
Knowing what your dog should and shouldn’t eat is part of responsible ownership. For guidance on safe nutrition, check out our article on choosing the best dog food for your pet.
Command Six: Heel
Heel means your dog walks calmly beside you with a loose leash, matching your pace and direction. This is not the same as a casual walk where your dog can sniff and explore; heel is a focused, working position used for specific situations like navigating crowded sidewalks, passing reactive dogs, or walking through parking lots.
How to teach heel step by step
- Decide which side your dog will heel on. I recommend the left side (traditional), but consistency matters more than the specific side.
- With your dog standing at your left side, hold a treat in your left hand at your dog’s nose level.
- Take one step forward. If your dog moves with you, staying at your side, mark and reward.
- Gradually increase to 2 steps, 5 steps, 10 steps before marking and rewarding.
- Add turns: right turns first (easier), then left turns, then about-turns (180 degrees).
- Practice in increasingly distracting environments.
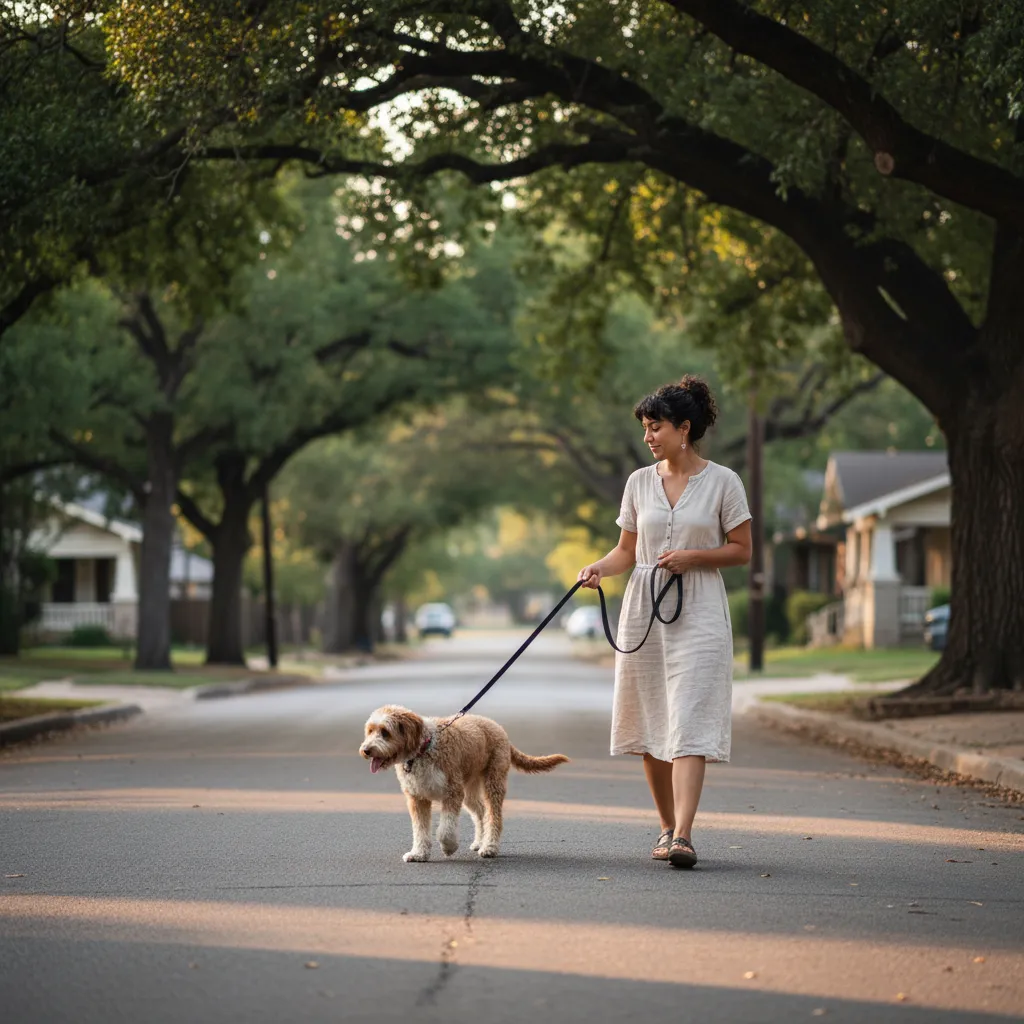
I want to be clear about something: I don’t expect dogs to heel for an entire walk. That’s unreasonable and frankly unfair. Dogs need to sniff, explore and decompress on walks. I teach heel as a tool you can deploy when you need your dog close and focused. The rest of the walk, I encourage a “structured free walk” where the leash is loose but the dog is free to investigate their environment.
Different breeds have different walking needs. If you have a larger breed, you may need to spend more time on leash manners simply because a pulling dog that weighs 90 pounds is a safety concern. Smaller breeds often pick up heel quickly but may need extra confidence-building in busy environments.
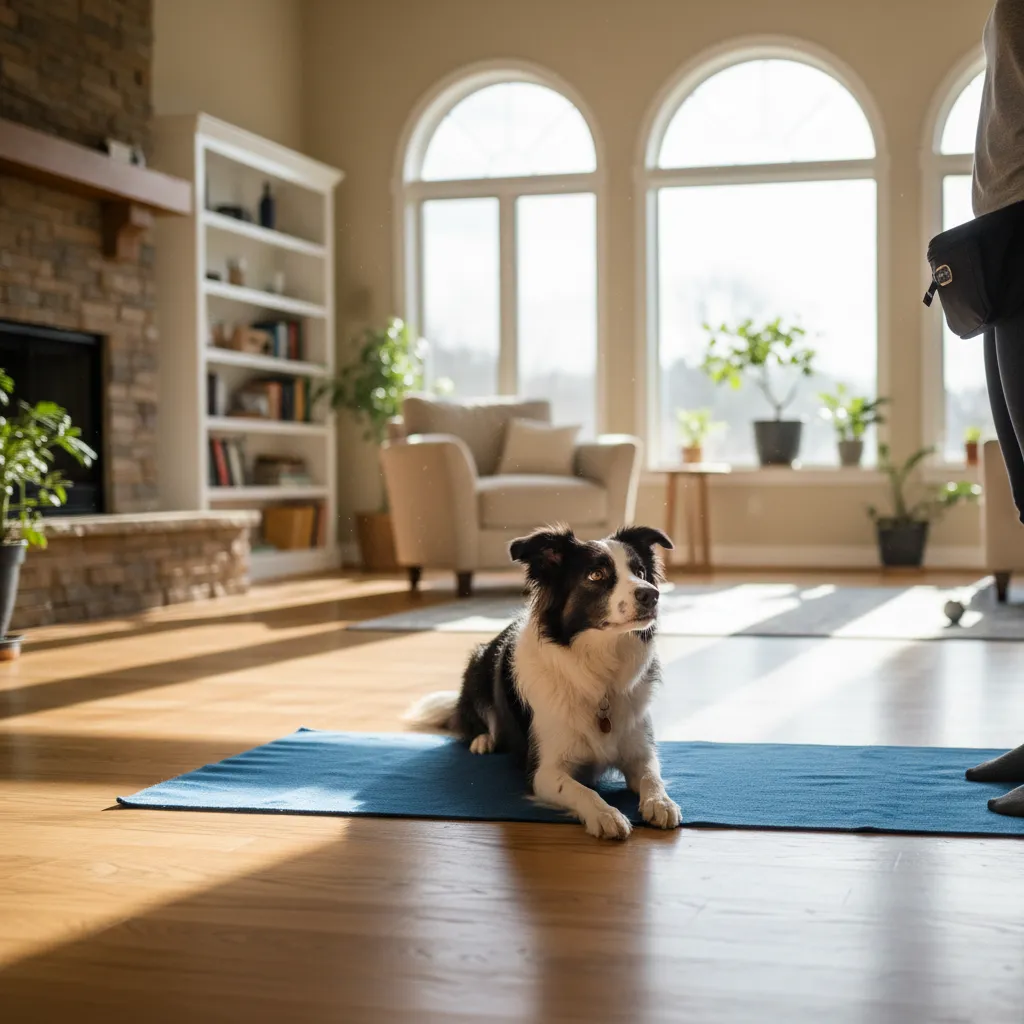
Command Seven: Place
Place (also called “bed” or “mat”) means your dog goes to a designated spot, such as a dog bed or mat, and stays there until released. This is the command that saves your sanity during dinner parties, deliveries, cooking and any situation where you need your dog to be settled and out of the way.
How to teach place step by step
- Set a dog bed, mat or raised cot in a central location.
- Lure your dog onto the mat using a treat. The moment all four paws are on the mat, mark and reward.
- Add the cue “place” as your dog begins to understand that going to the mat earns rewards.
- Ask for a down on the mat. Mark and reward.
- Build duration slowly: 10 seconds, 30 seconds, 1 minute, 5 minutes.
- Add a release cue (I use “free” or “okay”) so your dog knows when they’re allowed to leave the mat.
- Practice sending your dog to place from increasing distances.
Place is one of the most versatile commands in my toolkit. I use it with dogs who struggle with separation anxiety as part of a graduated independence protocol. I use it with families who have young children to create a safe boundary between the dog and the kids during mealtimes. I use it to teach dogs that being calm is just as rewarding as being active.
Training Timeline and Expectations
One of the most common questions I get is “how long will this take?” The honest answer depends on your dog’s age, breed, temperament, previous training history and your own consistency. However, I can offer general benchmarks based on what I’ve seen across hundreds of training cases.
| Command | Initial Learning | Reliable in Low Distractions | Reliable in High Distractions |
|---|---|---|---|
| Sit | 1 to 3 days | 1 to 2 weeks | 3 to 4 weeks |
| Stay | 3 to 5 days | 2 to 3 weeks | 6 to 8 weeks |
| Come | 3 to 7 days | 3 to 4 weeks | 3 to 6 months |
| Down | 2 to 5 days | 2 to 3 weeks | 4 to 6 weeks |
| Leave It | 3 to 5 days | 2 to 3 weeks | 6 to 8 weeks |
| Heel | 5 to 7 days | 3 to 4 weeks | 2 to 3 months |
| Place | 2 to 4 days | 2 to 3 weeks | 4 to 6 weeks |
These timelines assume two to three short training sessions per day and a healthy, well-rested dog with appropriate exercise. Puppies under 16 weeks may learn the initial behavior quickly but will take longer to achieve reliability due to their developmental stage. Our first-year puppy care checklist covers the full picture of what your pup needs alongside training.
Older dogs or rescues with no training history may take slightly longer on some commands but often surprise owners with how quickly they progress once they understand the reward system. Age is rarely a barrier. I’ve successfully taught these seven commands to dogs as old as 12.
Common Training Mistakes and How to Avoid Them
After more than 10 years of coaching dog owners, I’ve identified the mistakes that derail training most often. Avoiding these will save you weeks of frustration.
Repeating the cue. Saying “sit, sit, sit, SIT” teaches your dog that the command is four words long, not one. Give the cue once. If your dog doesn’t respond within 3 seconds, use a lure to help them, then try again. One cue, one chance, one reward.
Training for too long. When I observe owners practicing for 20 or 30 minutes straight, I see dogs who are checked out by minute 8. Quality matters infinitely more than quantity. Five focused minutes beats thirty distracted ones.
Moving too fast. This is the number one mistake I see. Owners teach sit in the kitchen, then expect their dog to sit at the dog park surrounded by 15 off-leash dogs. Every new environment resets your dog’s learning somewhat. Build up gradually, and celebrate small wins.
Inconsistency between family members. If one person uses “down” to mean lie down and another uses “down” to mean get off the couch, your dog will be confused. Hold a family meeting before you start training. Agree on cues, hand signals and rules. Write them on the fridge if you need to.
Poisoning the cue. If you use “come” and then immediately crate your dog, give them a bath, or take them away from something fun, you’re teaching them that “come” means fun is over. Protect your recall word by making it overwhelmingly positive every single time.
Skipping the basics. Some owners want to jump straight to impressive tricks or advanced off-leash work. Every advanced behavior is built on the foundation of these seven commands. A dog who can’t sit reliably is not ready for an off-leash hike. Invest the time in the basics now, and the advanced work will come much more easily later.
It’s also worth making sure your dog is physically comfortable before training sessions. A dog who is overdue for grooming or dealing with overgrown nails may resist certain positions like down. And dogs behind on their vaccination schedule shouldn’t be training in public spaces where they could be exposed to disease.
Key Points
- Keep training sessions to 5 to 10 minutes, two to three times daily, for the best results
- Teach commands in order of complexity: start with sit, then build to stay, come, down, leave it, heel and place
- Practice each command in at least three different locations before trusting it in real-world situations
- Never repeat a cue more than once; if your dog doesn’t respond, lure rather than nag
- Protect your recall cue by making every successful “come” an overwhelmingly positive experience
Frequently Asked Questions
How long does it take to train a dog the basic commands?
Most dogs can learn the initial mechanics of basic commands like sit and down within a few days of consistent practice. However, achieving true reliability, where your dog responds on the first cue in any environment, typically takes 3 to 8 weeks per command. Recall (come) takes the longest to proof and may require 3 to 6 months of consistent work before it’s reliable around high-level distractions. The key factors are your consistency, the length and frequency of training sessions, and how gradually you introduce new challenges.
Can you train an older dog who has never had any training?
Absolutely. The saying “you can’t teach an old dog new tricks” is a myth. I’ve successfully trained dogs of all ages, including seniors over 10 years old. Older dogs sometimes learn certain commands faster than puppies because they have longer attention spans and are less easily distracted. The key is using high-value rewards, keeping sessions short and adjusting for any physical limitations such as arthritis that might make positions like down uncomfortable.
What treats should I use for dog training?
The best training treats are small (pea-sized), soft (easy to chew quickly so training isn’t interrupted), and high-value (something your dog finds irresistible). Cooked chicken breast cut into tiny pieces, freeze-dried liver, string cheese and commercial soft training treats all work well. Avoid hard, crunchy treats that take a long time to eat. For dogs who are less food-motivated, experiment with different proteins; many dogs who seem uninterested in commercial treats will work enthusiastically for real meat.
Should I use a clicker or a marker word for training?
Both are equally effective. A clicker produces a consistent, distinctive sound that some trainers feel is clearer for the dog. A marker word like “yes” has the advantage of not requiring you to carry an extra piece of equipment. I personally use a marker word because my hands are usually full with a leash and treats. Whichever you choose, the important thing is consistency: the marker should always mean “that exact behavior earned you a reward” and should always be followed by a treat.
How do I train my dog if they are not food motivated?
Truly non-food-motivated dogs are rarer than most people think. First, try upgrading the value of your treats; real meat often works when commercial treats don’t. Train before meals when your dog is hungrier. If your dog genuinely prefers other rewards, use what motivates them: a favorite toy, a game of tug, access to sniffing on a walk, or even praise and physical affection. The principle of positive reinforcement works with any reward your dog values, not just food.
Is it better to train my dog myself or hire a professional trainer?
For the seven essential commands covered in this article, most owners can train their dogs successfully at home with consistent practice. However, hiring a certified professional dog trainer (look for CPDT-KA credentials) is valuable if your dog shows signs of aggression, severe anxiety, or reactivity, or if you’ve been working on a command for several weeks without progress. A good trainer coaches you to train your dog rather than training the dog for you, which builds a stronger long-term relationship. Group classes are also an excellent option for socialization and structured learning.